After having used ESXi for years, I recently discovered Proxmox and decided to give it a try. I haven’t been studying as much these days while I deal with a different personal journey, but I am trying to make the effort to come back to my studies. Since it’s been a while since I worked on of my VM’s, I decided to start fresh and erase everything. I wasn’t sure if I could use EVE-NG, but I was quickly able to find out it’s possible. I’ll break down here how I got Proxmox installed first and then on a separate post I will outline getting EVE-NG installed.
Why Proxmox
So you might be wondering why I decided to make the change or you might already have your own reasons why. For me, it was for the fact that ESXi limited you on some options, like how many CPU slots/cores you can assign a VM. This was important to me for VM’s like EVE-NG when needed more CPU power to virtualize some of the more intense nodes (ex: NS-OS). Unlike with ESXi, Proxmox doesn’t charge for a license to use any of its functionalities. It does, however, require a license/subscription to receive enterprise level updates. I don’t need that, so I’m good. Also, for my home lab, I like that it’s open-source and that the base OS is Debian. I don’t get to use UNIX/Linux systems as much as I used to so it gives me hands-on practice when having to work with these at home.
See more of the available features here: Compare Proxmox VE
Installing Proxmox
Steps:
1. Review System Requirements
2. Download ISO
3. Install using USB
4. Initial Configuration
5. Verify Network Connectivity
6. Update/Upgrade
7. Closing
1. Review System Requirements
Straight from their website, here are their current requirements:
Recommended Hardware
-Intel EMT64 or AMD64 with Intel VT/AMD-V CPU flag.
-Memory, minimum 2 GB for OS and Proxmox VE services. Plus designated memory for guests. For Ceph or ZFS additional memory is required, approximately 1 GB memory for every TB used storage.
-Fast and redundant storage, best results with SSD disks.
-OS storage: Hardware RAID with batteries protected write cache (“BBU”) or non-RAID with ZFS and SSD cache.
-VM storage: For local storage use a hardware RAID with battery backed write cache (BBU) or non-RAID for ZFS. Neither ZFS nor Ceph are compatible with a hardware RAID controller. Shared and distributed storage is also possible.
-Redundant Gbit NICs, additional NICs depending on the preferred storage technology and cluster setup – 10 Gbit and higher is also supported.
-For PCI(e) passthrough a CPU with VT-d/AMD-d CPU flag is needed.
You can see more here: Proxmox VE Hardware Requirements
Here’s the hardware I will be using:
-HP ProLiant DL360p G8
-2x Intel Xeon E5-2697 v2 Twelve-Core Processor 2.7GHz
-164GB RAM
-2TB of internal storage. (non-SSD)
-1G iLO and 1G uplink
Also, I have a Synology that I will be using as a NAS.
2. Download ISO
Now that we know what we need and what we have, we can download the ISO we will be using to install the server OS. You’re going to need a USB drive and a way to create a bootable USB from an ISO. Personally, I like to use Rufus and have for years now. It just works.
You can download the ISO here: Download Proxmox Virtual Environment
You can find out more and download Rufus from here: Rufus – Create bootable USB drives the easy way
3. Install Using USB
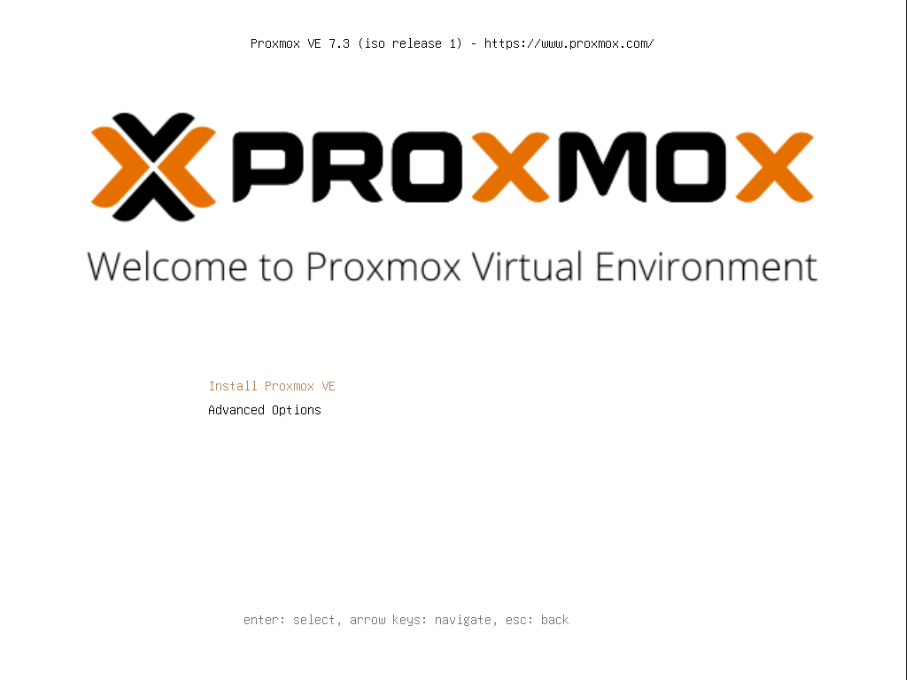
Now that we have our bootable USB with the Proxmox ISO ready to go, we are ready to install. Every PC/Server is different when it comes to booting from a USB. In my case, during the boot-up process, I need to press F11 to bring up the bootable options. Sometimes it’s F9 or F10, but it all depends on your BIOS. You may even need to enable to option in the BIOS config. Once the ISO boots up, select “Install ….” and from there it looks very similar to a UNIX/Linux fresh install. I will be installing Proxmox version 7.3-1.
Once this appears on the screen, hit ENTER to begin installation wizard.
4. Initial Configuration
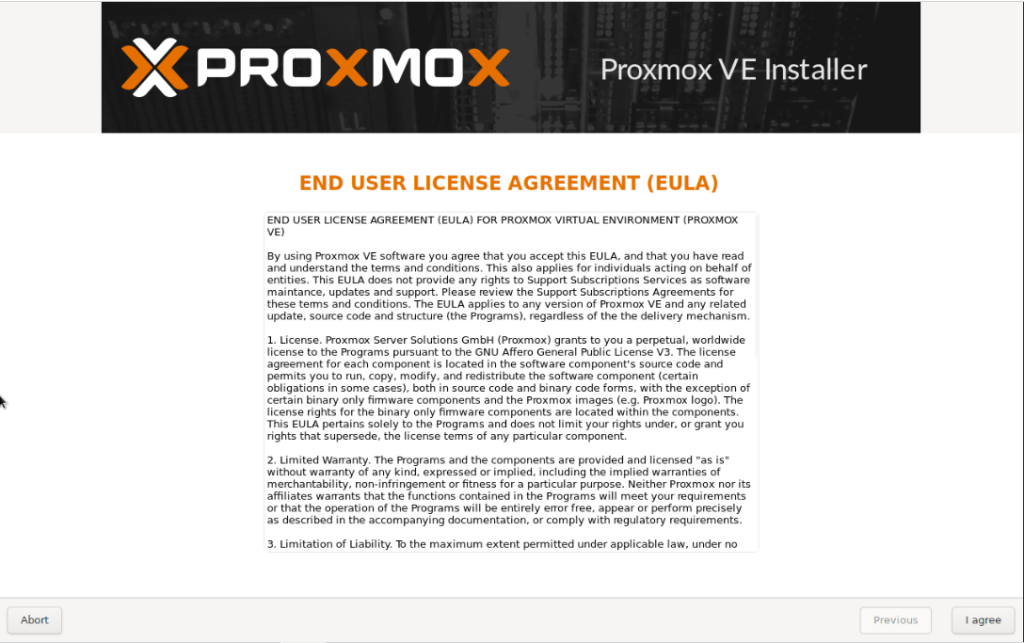
-The next window will ask you to AGREE to the EULA. Be responsible and read it…or skim through it. 🙂
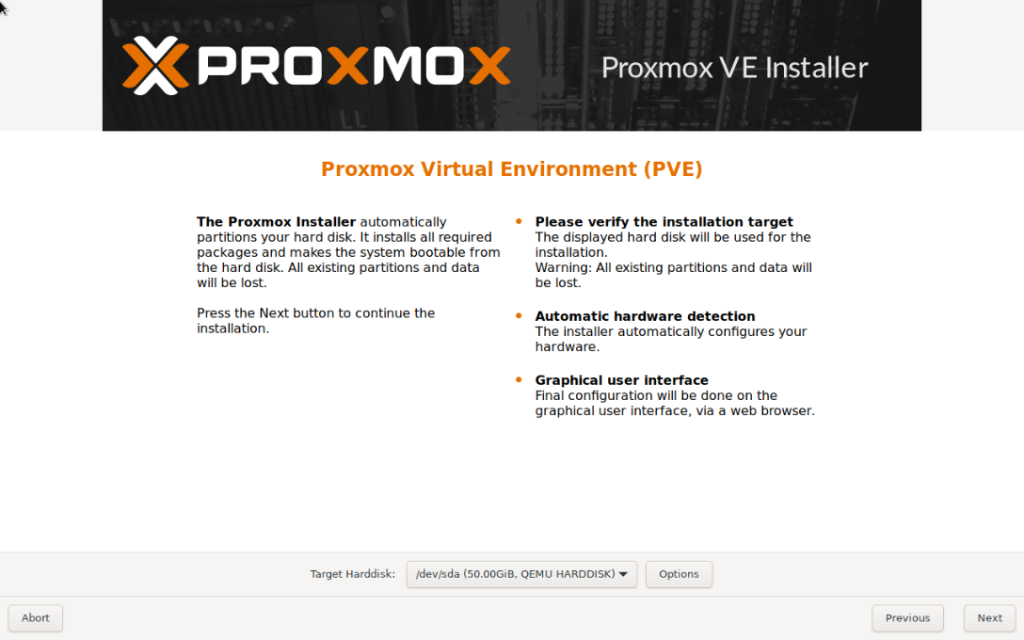
-Next, you will be asked to select the target disk you want to install Promox to.
-Set your Location and Time Zone info and select your keyboard layout.

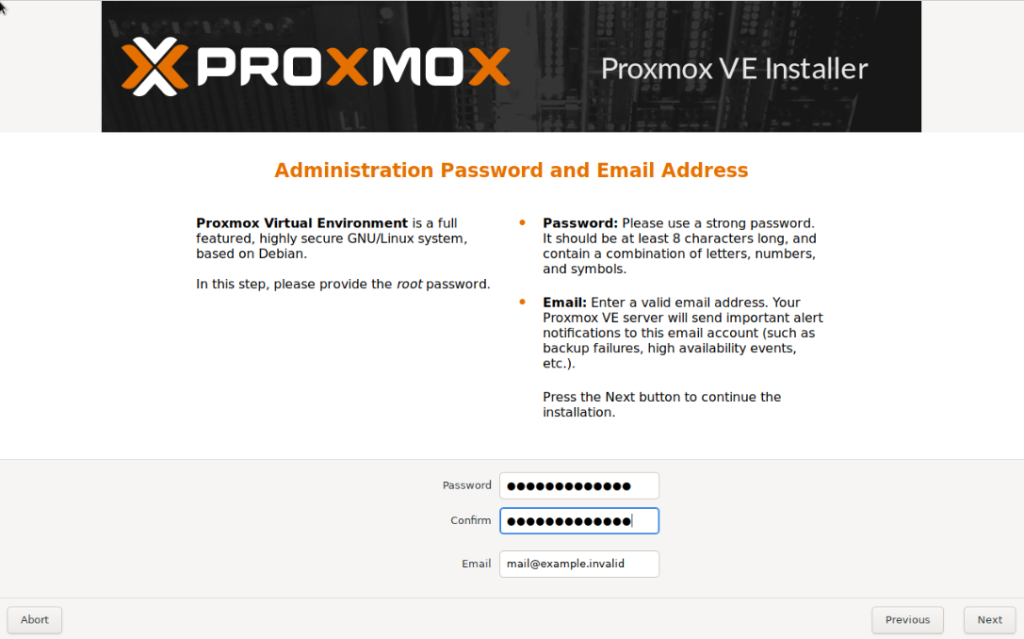
-Here you will set your root password. Don’t forget to add your email. I actually don’t remember what email I used for this.
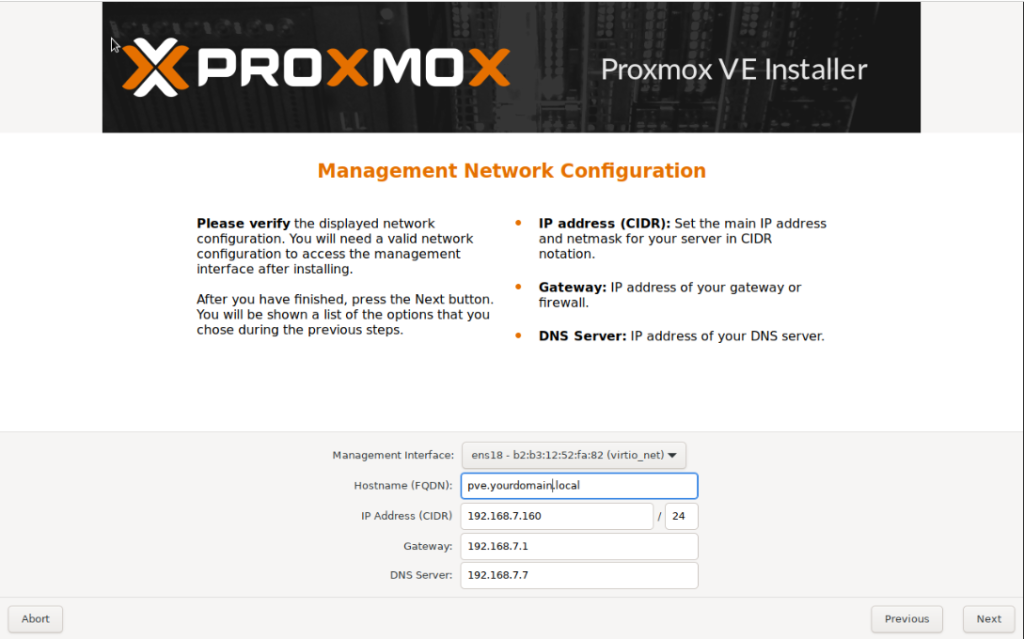
-Next, select the NIC, set a hostname and add your IP address, gateway and DSN server. You can either leave the one set via DHCP or set a static IP address you’ve pre-assigned. After this, you will get a summary of your selections. Click on Install to start the installation process.
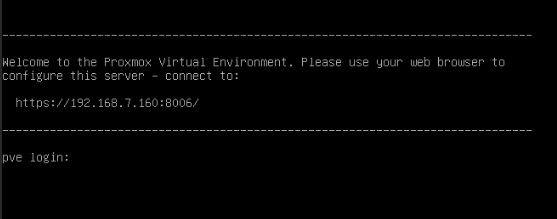
-Once the installation finishes, the server will reboot and you will get this prompt for login. You can either login here as ‘root’ or use the web GUI using the URL provided.
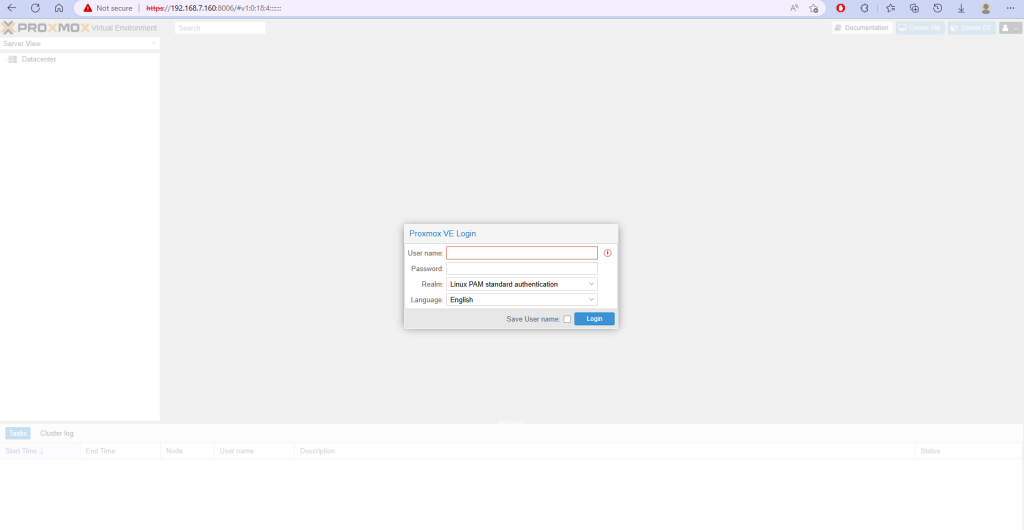
-This is the GUI and can log in using ‘admin’ and the root password set during installation.
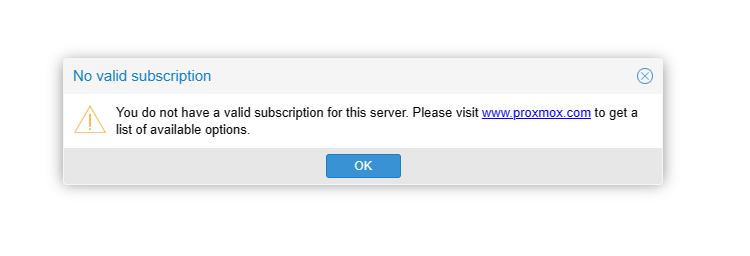
-Right after you successfully log in, you will get this window. You can safely ignore and click ‘OK’. If you’re using this for your home lab, you don’t need to worry about a valid enterprise subscription.
5. Network Connectivity
When I first went through the configuration wizard, I was able to select the interface and set a static IP address for my server. You can leave it as default (DHCP) or change it to static, like I did. I just like to set these servers as static so that I can use and easy to remember DNS address. For example, I named this ‘pve.myhomedomain.local’. I have terrible memory, so I like to name them something easy to remember so that I don’t have to remember IP’s when I use a different laptop. I do that a lot. Depending on my mood I might be in my office or on a laptop in my bedroom or a different laptop in my backyard.
Anyway, when the initial configuration completed and the server rebooted, I realized I wasn’t able to reach the web-gui using the static IP I gave it. I rebooted and tried again, nothing. Using the iLO Remote Console, I logged in as root and started checking the network configuration. I noticed that eno3 was the interface assigned to the bridge port (vmbr0) used for network connectivity. I wasn’t sure on the numbering scheme on the chassis, so I just added all 4 interfaces to the config and rebooted. Yes, I am lazy. The commands I used to do this are as follows:
- ip address – to list all interfaces and their status; bridge (vmbr0) has the static IP and the rest are manual.
- cat /etc/networks/interfaces – you should see a section like below…
- auto lo
- iface lo inet loopback
- iface eno1 inet manual
- auto vmbr0
- iface vmbr0 inet static
- address 192.168.10.2/24
- gateway 192.168.10.1
- bridge-ports eno3
- bridge-stp off
- bridge-fd 0
- nano /etc/networks/interfaces – open files to edit using a text editor.
- Find ‘bridge-ports’ and add the remaining ports to list, ex: eno3 eno1 eno2 eno4
- ^O to save and ^X to exit.
- Reboot
Keep in mind that I will only be using ONE of the 1G interfaces to connect to my network. However, if you plan on using multiple 1G’s back to the same switch, make sure you configure a bond interface instead, assign the ports to it and then assign the bond to the bridge.
After a quick reboot, I was able to get network connectivity. Yay!
6. Update/Upgrade
Sweet! We can get out to the internet, so that means we can now download any updates available. You can either do it from the Web-GUI or through the cli. I initially did it through the cli, because I was already there, ‘apt install updates’. It will use the default repository, but can add another using the GUI.
First, you will need to click on your host on the left. A bit to the right of that, click on ‘Repositories’ under ‘Updates’. Here, you will see all the currently used repositories for your updates. Since I don’t have an enterprise subscription, I will be using the free version no subscription repository for my updates.
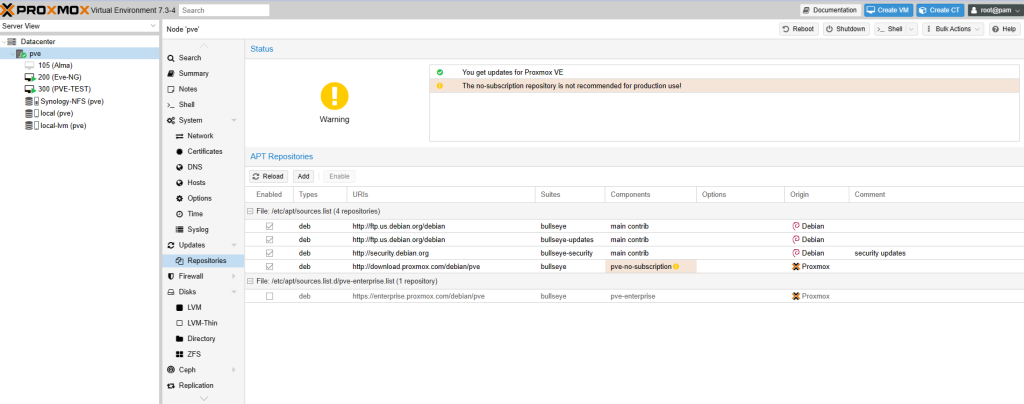
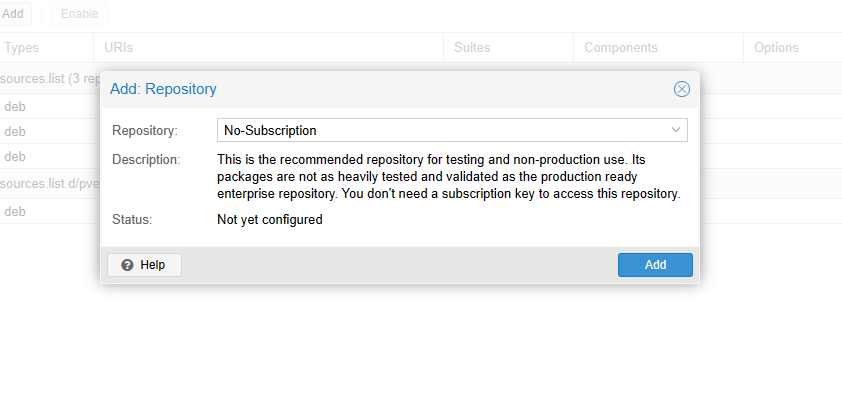
-To add this repository, click on ‘ADD’ under ‘APT Repositories’. A prompt pops up about not having a valid subscription. Then, select ‘No-Subscription’ from the repository dropdown list. Then, click ‘ADD’.
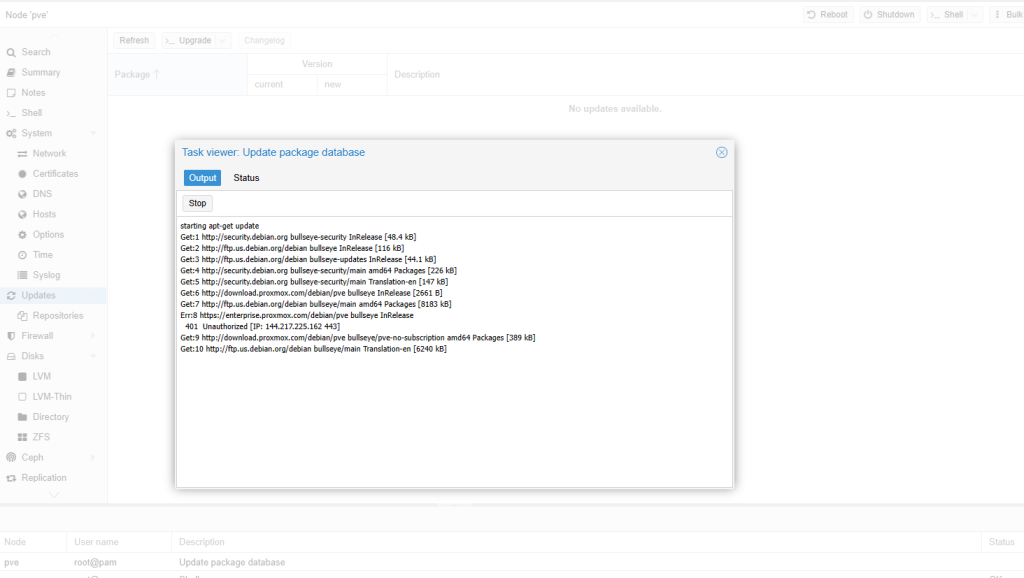
-After adding the repository, go back to ‘Updates’ and click on ‘Refresh’ to pull the needed updates. A window pops up and begins to check what needs to be updated.
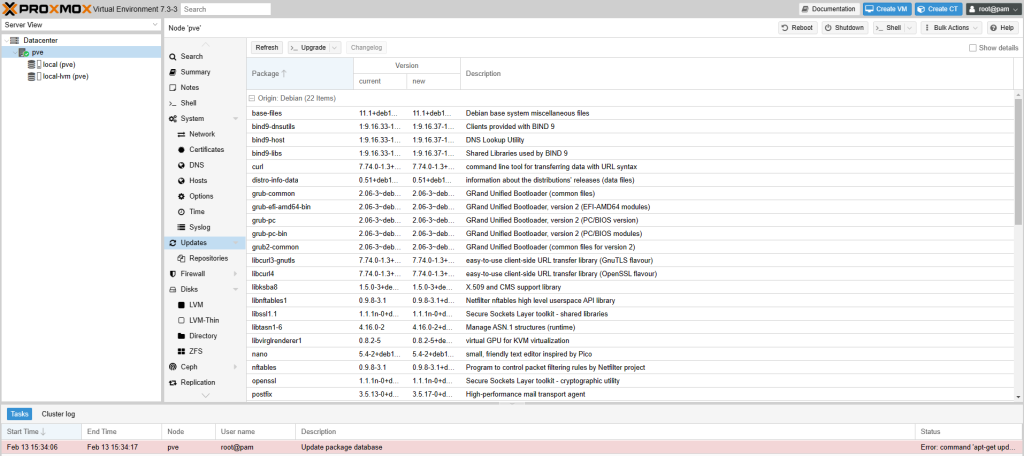
-Now that the list is populated with the updates needed, you can click on ‘Upgrade’ at the top and begin the installation of these updates.
-A new window of the cli pops up and a prompt will ask if you want to continue with the updates/upgrade. Type ‘Y’ and hit ‘Enter’.
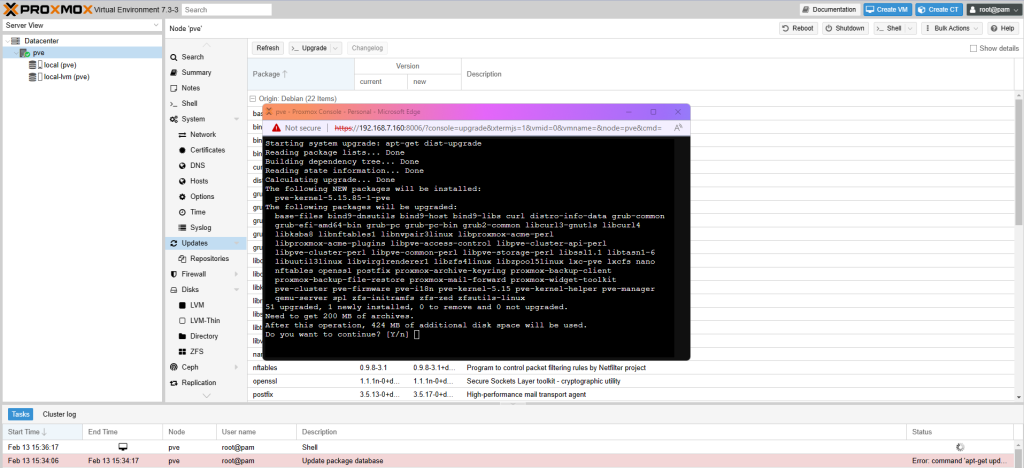
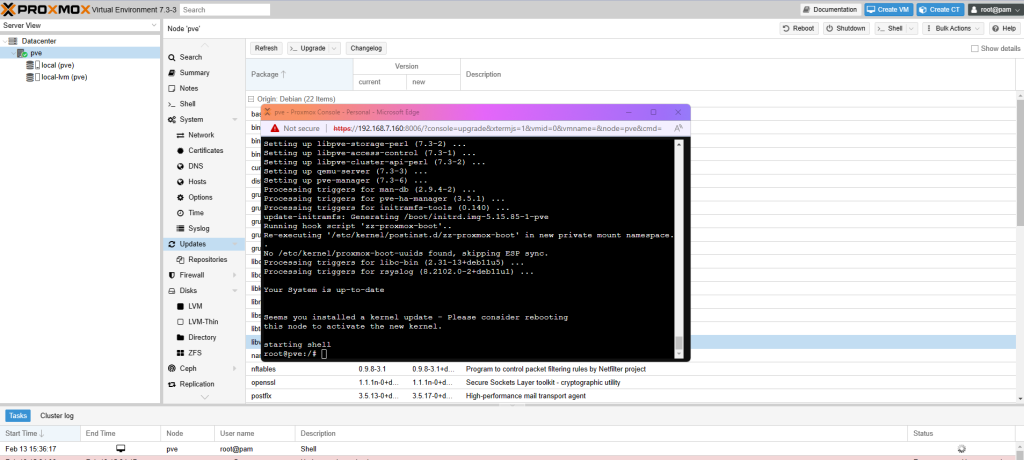
-It may take a few minutes depending on how many updates are needed. Once it’s finished, the prompt might tell you to consider rebooting for kernel updates to take effect.
7. Closing
After the reboot, you’re done and can log back in and begin adding some VMs! Yay. Overall, I think it was pretty simple getting Proxmox installed and ready to install VM’s. I did have an issue with the network config, but I may have done something wrong or could have been a bug. I ran the installer a second time as a VM because I forgot to get screenshots and didn’t have any issues there. It all took me under an hour to get it going the second time around. I get distracted easily so I’m happy I got through it (second time) to document it here. Let me know what you think of this virtual environment when comparing it to others for your home lab. This seems to fit my needs a lot better compared to ESXi.
